Application Introduction
ProShot is a professional photography app that transforms your mobile interface into a DSLR-like experience. It offers advanced manual controls and requires a compatible Android system version to use. The app also provides a manual control mode, allowing you to experience the charm of DSLR photography.Photography Features
- Automatic, program, manual, and two fully customizable modes, just like a digital SLR camera - Manual, semi-manual, or automatic control over exposure, flash, focus, ISO, shutter speed, torch, and white balance - Capture photos in JPEG, RAW, and RAW - JPEG formats - Light painting mode with unlimited shutter and real-time preview - Capture photos in 16:9, 4:3, and 1:1 ratios, as well as custom aspect ratios - Full-resolution burst, timer, and slow-motion shooting modes with full manual control - Zero-delay bracketing exposure with ±3 increments - Powerful bracketing options, including exposure compensation, ISO selection, and shutter control - HDR, night, and action scene modes - Auto ISO option, opening manual mode to shutter priority - Manual focus assist - Real-time histogram - Front camera with exposure control - One-finger zoom - Full-featured camera roll integrated into the viewfinder, with EXIF viewing, video playback, media sharing, and delete support - Grid overlay with three different levels of granularity - Adjust JPEG quality, noise reduction, and photo location - Quick access to GPS, screen brightness, and camera shutterVideo Features
- Support for 4K (3840x2160) video recording - Manual, semi-manual, or automatic control - Record video in any mode (auto, P, M, C1, or C2) - Adjustable resolution, frame rate, and bitrate - Industry-standard 180-degree rule options - Zoom and change any camera parameter while recording video - Real-time audio input level - Slow-motion video recording with full manual control - Leave heavy DSLR cameras at home; ProShot brings you back.
How to Use ProShot Android Version?
Tip: When you first open the app, you need to grant the app relevant permissions and ensure the Google Services Framework is installed.

1. Upon opening the app, you'll see a startup animation. After the animation, you'll have three options: video tutorial, user manual, or skip (continue).

2. After the animation, you'll be taken to the shooting page. The top-left corner is the album, where you can view your photos after taking them. The lightning bolt icon toggles the flash on and off. The center displays photo ratios, camera aperture, ISO, white balance, and other parameters. The top-right corner is the access point for all parameter settings.

3. Clicking on the top-right corner will take you to the page where you can set various shooting parameters. The interface is in both Chinese and English, making it easy to understand for frequent camera users.

4. The bottom-left corner of the main page also has many parameter settings, displayed with simplified icons or English text. Users will need to explore to understand them. Mainly, it includes light painting, video shooting settings, interval shooting, and more.

5. The bottom-right corner is the preset bar where users can set parameters like ISO, white balance, and brightness in advance and quickly access them during shooting. The app has added a 100fps option for slow-motion videos.


 一寸照片生成器app
 视频水印大师app
 TipScope显微镜app
 多彩相机app
 初音扩展现实相机app
 佐糖照片修复app
 微商相机app
 剪影多多视频制作软件
 2K公布免费第三人称英雄射击游戏《Ethos计划》
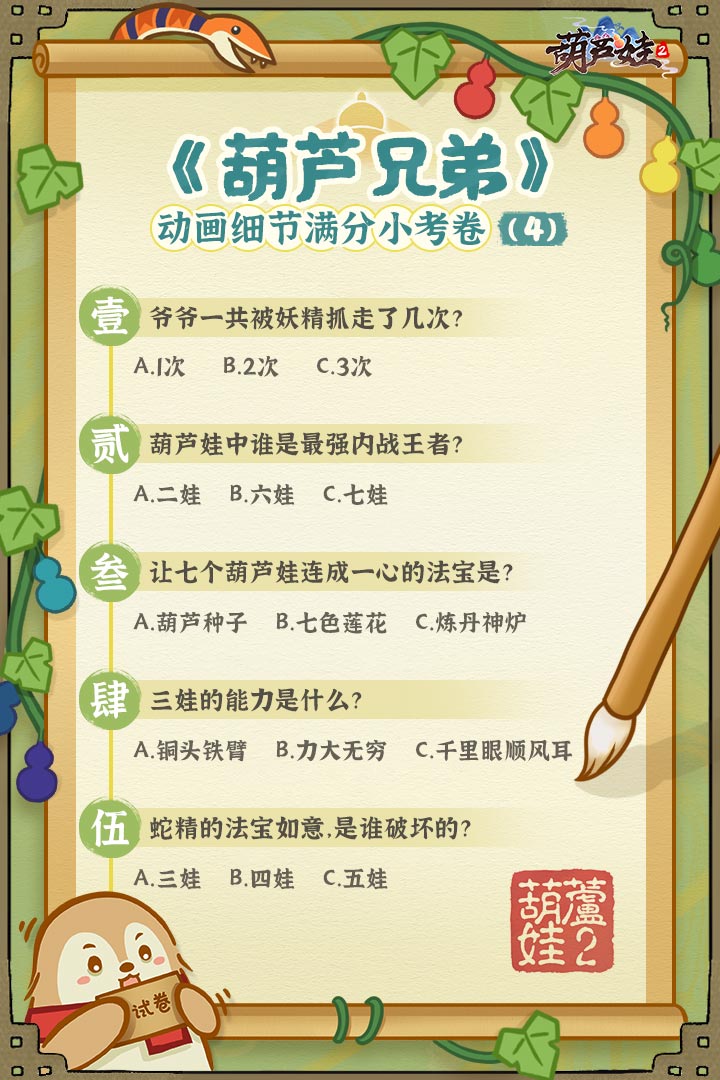 考试啦,《葫芦娃2》带来原动画细节小考卷(4)
 王国两位君主北欧之地隐士有什么用
 我的世界种子怎么种植方法
 崩坏学园2怎么注销崩坏怎么注销账号
 不止《生化危机》外媒精选30款恐怖佳作
 王国两位君主北欧之地雷神之锤解锁顺序
 梦幻西游梦玲珑穿什么
 功夫熊猫阿宝邀你切磋,《蛋仔派对》联动KouKouLove第二弹开启
 终结之王SF《街头篮球》提升胜率之失误控制